
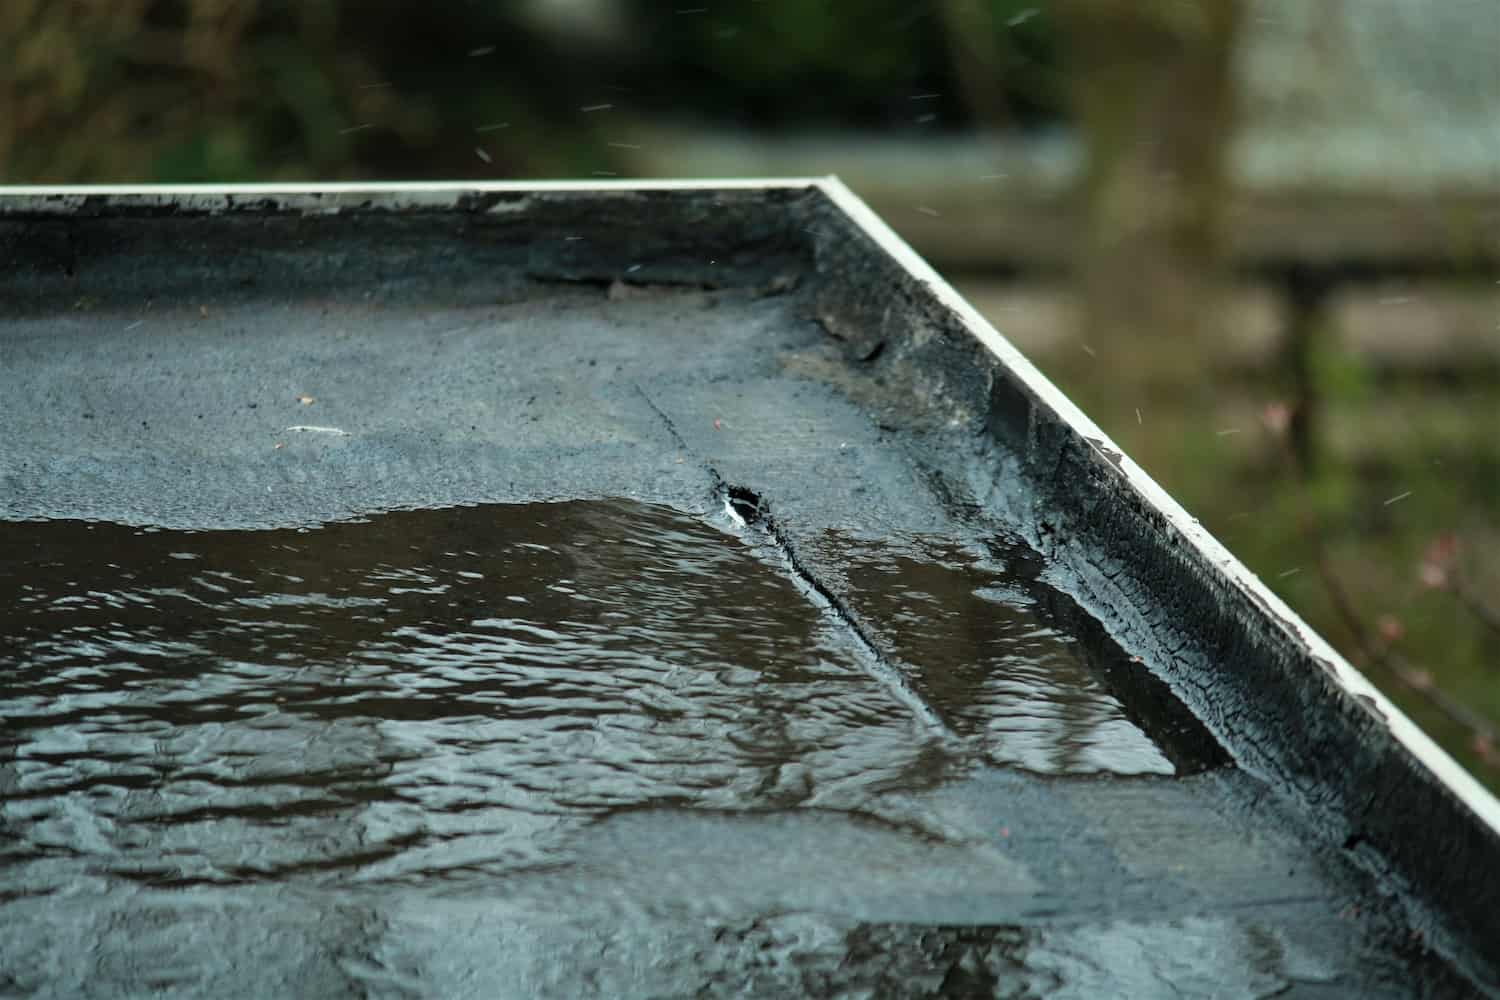
Whether you have a flat roof on your business, apartment building, or even your home, you may occasionally run into issues. Flat roofs, like all other roofing materials, aren’t immune to leaks forever.
No one wants to deal with a roof leak, but it’s important to act fast to avoid further (and more expensive) water damage. We always recommend leaving roof repairs in the hands of a qualified professional, but you can perform temporary repairs yourself until your roofing contractor is able to help.
We’ll teach you how to fix a flat roof leak in 5 easy steps and how to know when to call the pros instead.
How to Fix a Flat Roof Leak
We’ll be honest; fixing a flat roof isn’t as simple as replacing an asphalt shingle. While walking on a flat roof is much safer than climbing on a sloped roof, fixing a leaking flat roof requires a very hands-on approach.
In the 5 steps below, we’ll cover a simple temporary fix and a more involved one.
Step 1: Locate the Leak
Perhaps the longest step is the first one— locating the roof leak. Start by placing a bucket under any active dripping water. Look for clear signs of a roof leak, like water stains on the ceiling.
Oftentimes, roof leaks are sneaky. A water stain may appear a few feet away from the source of the leak. One trick is to measure from your outside wall to the location of the leak. Then, take that same measurement up to your roof.

When you’re on your roof, look for signs of damage around the measured area, such as:
- Loose flashing
- Loose tar
- Missing roofing nails
- Pooling water
- Blistering
- Cracks
If you notice gaps, holes, or a pool of water near your measured area, that’s likely the culprit of your flat roof leak.
If you can’t find the roof leak based on obvious damage, you can follow the garden hose approach. You’ll need another person to stand inside the building to watch for seeping water.
- Spray a water hose in small sections of your roof. Stay in each section for a few minutes.
- Have your buddy yell out or text you if water starts to leak while you’re in a certain area.
- Look for the above damage in the area you’ve narrowed down.
Step 2: Remove Debris and Dry the Area
Once you narrow down the source of the leak, you can really get to work. You want a clean and clear working area, so remove any debris that may have accumulated around the damage. It’s possible that a storm caused your roof damage, especially if the debris is excessive. Otherwise, it may simply be due to old age.
Dry the area to avoid any more moisture seeping through. Old rags and towels will do the trick here. This is an important step because if you repair a hole in your roof, any extra moisture that sneaks in can cause mold growth.
Step 3: Tarp the Area
The easiest temporary flat roof leak fix is to tarp the area until a professional roofing contractor can provide a long-term repair. Simply purchase a tarp that’s big enough to cover the leaking area and then some.

You can secure the tarp down with cinder blocks or with roofing nails. Just keep in mind that if you use nails, you’ll need to replace the punctured areas later. If using cinder blocks or wood planks, be sure that all the edges are secured down. Any lifted edges can let water back in.
You can call this good and wait for a professional to help you out for good. But if there’s a significant wait time for when a contractor can assess your roof, you can continue with the next two steps for a more hands-on approach.
Step 4: Or, Cut Out the Damaged Area
If your leak is due to blistering, gently cut through the damaged portion of the membrane. Cut away all the damaged layers, but be mindful not to cut the roofing felt underneath. Thoroughly dry the area before moving on.
Step 5: Apply Roofing Cement and Reattach the Roof Membrane
Use a trowel to apply roofing cement underneath the membrane you cut away. This will plug the leak and provide an adhesive to re-attach the membrane.
Press the membrane back onto the cement to reseal the area. You can also nail down the flaps of the blister for added security. Cover the roofing nails with more roofing cement.
When to Leave It to the Pros 👷👍
You should always call a professional roofing contractor whether or not you take a DIY approach, but there are certain situations where you shouldn’t attempt anything beyond tarping your own roof.
There are likely bigger issues at play if you notice:
- Extensive pooling water
- Large tears
- Large areas of blistering
- Moldy smells inside the building
- More than one roof leak
- Moss or algae on the roof
It’s possible that you need extensive repairs or even a total replacement, so when in doubt, call a professional. You can also get a service called roof coating— this is a thin layer of synthetic material applied on top of your flat roof to give you added protection and an extra few years before you need a total replacement.
Your Ohio Commercial Roofing Partner
While you can absolutely attempt a DIY flat roof repair as a temporary fix, the only way to ensure the job is done correctly is to hire a professional. Plus, DIY roofing work can void your warranty or even cause injury.
If you live in Ohio and have a flat roofing issue, trust Gouge Quality Roofing. Our team has been the #1 choice for home and business owners in Ohio for many years. Our honest and fast-working crew provides high-quality flat roof repairs and replacements.
Call Gouge today for a free quote!